


12 Days of Cookies | Day 12: The Best Sugar Cookies (Gluten Free)
These cookies taste like my childhood, and are soft and firm, with slightest hint of tang. Decorating skills are not needed to make these fan-favorites.


These sugar cookies are THE cookies of my childhood and the one cookies I have the fondest memories of making every year. They’re also the one cookie that I have regularly made for holidays, parties, birthdays, and special occasions. I’ve made them enough that friends and family started asking for the recipe years ago. But, when I found out I was Celiac, I felt paralyzed by the idea of trying to recreate these cookies as gluten free for fear they wouldn’t taste the same or have the same texture. So, I avoided them.
In fact, I didn’t try making these cookies again until I was preparing for 12 Days of Cookies this year and thought I’d try my hand at them. If it didn’t work, I wouldn’t use the recipe.
I think you know how things ended up. These sugar cookies check every box of nostalgia for me: from the cutout shapes and soft chew with each bite to the tang from the cream of tartar and the sweetness from the royal icing. I truly wish I didn’t wait so long to make these again. And, let’s thank the universe for a minute for how far gluten free flours have come, because I did NOT have to tweak my original recipe to make these gluten free.
Let’s get bakin’.
How to Make Sugar Cookies
In a medium mixing bowl, whisk together the flour and salt.
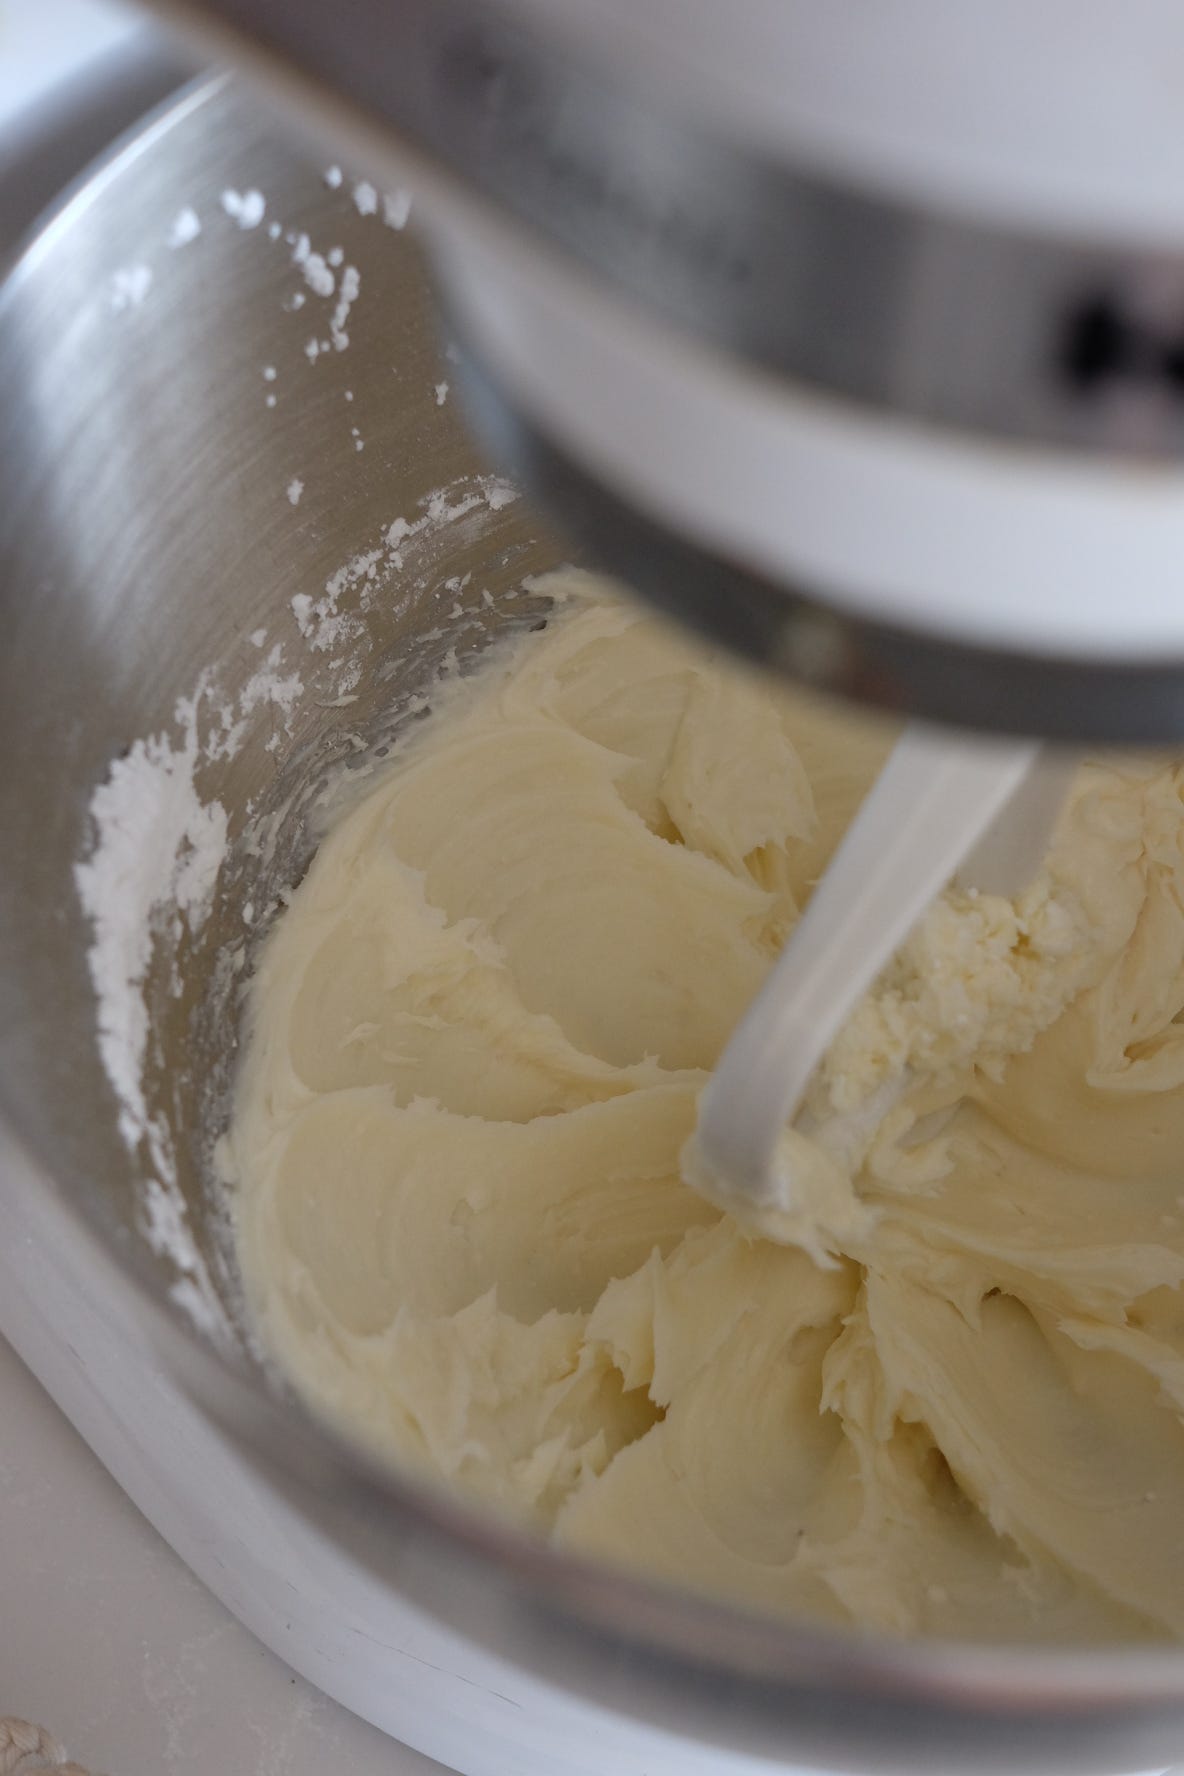
In a large mixing bowl or the bowl of a stand mixer, cream together the powdered sugar and butter. You’ll want to do this for 1-2 minutes until the batter lightens in color.
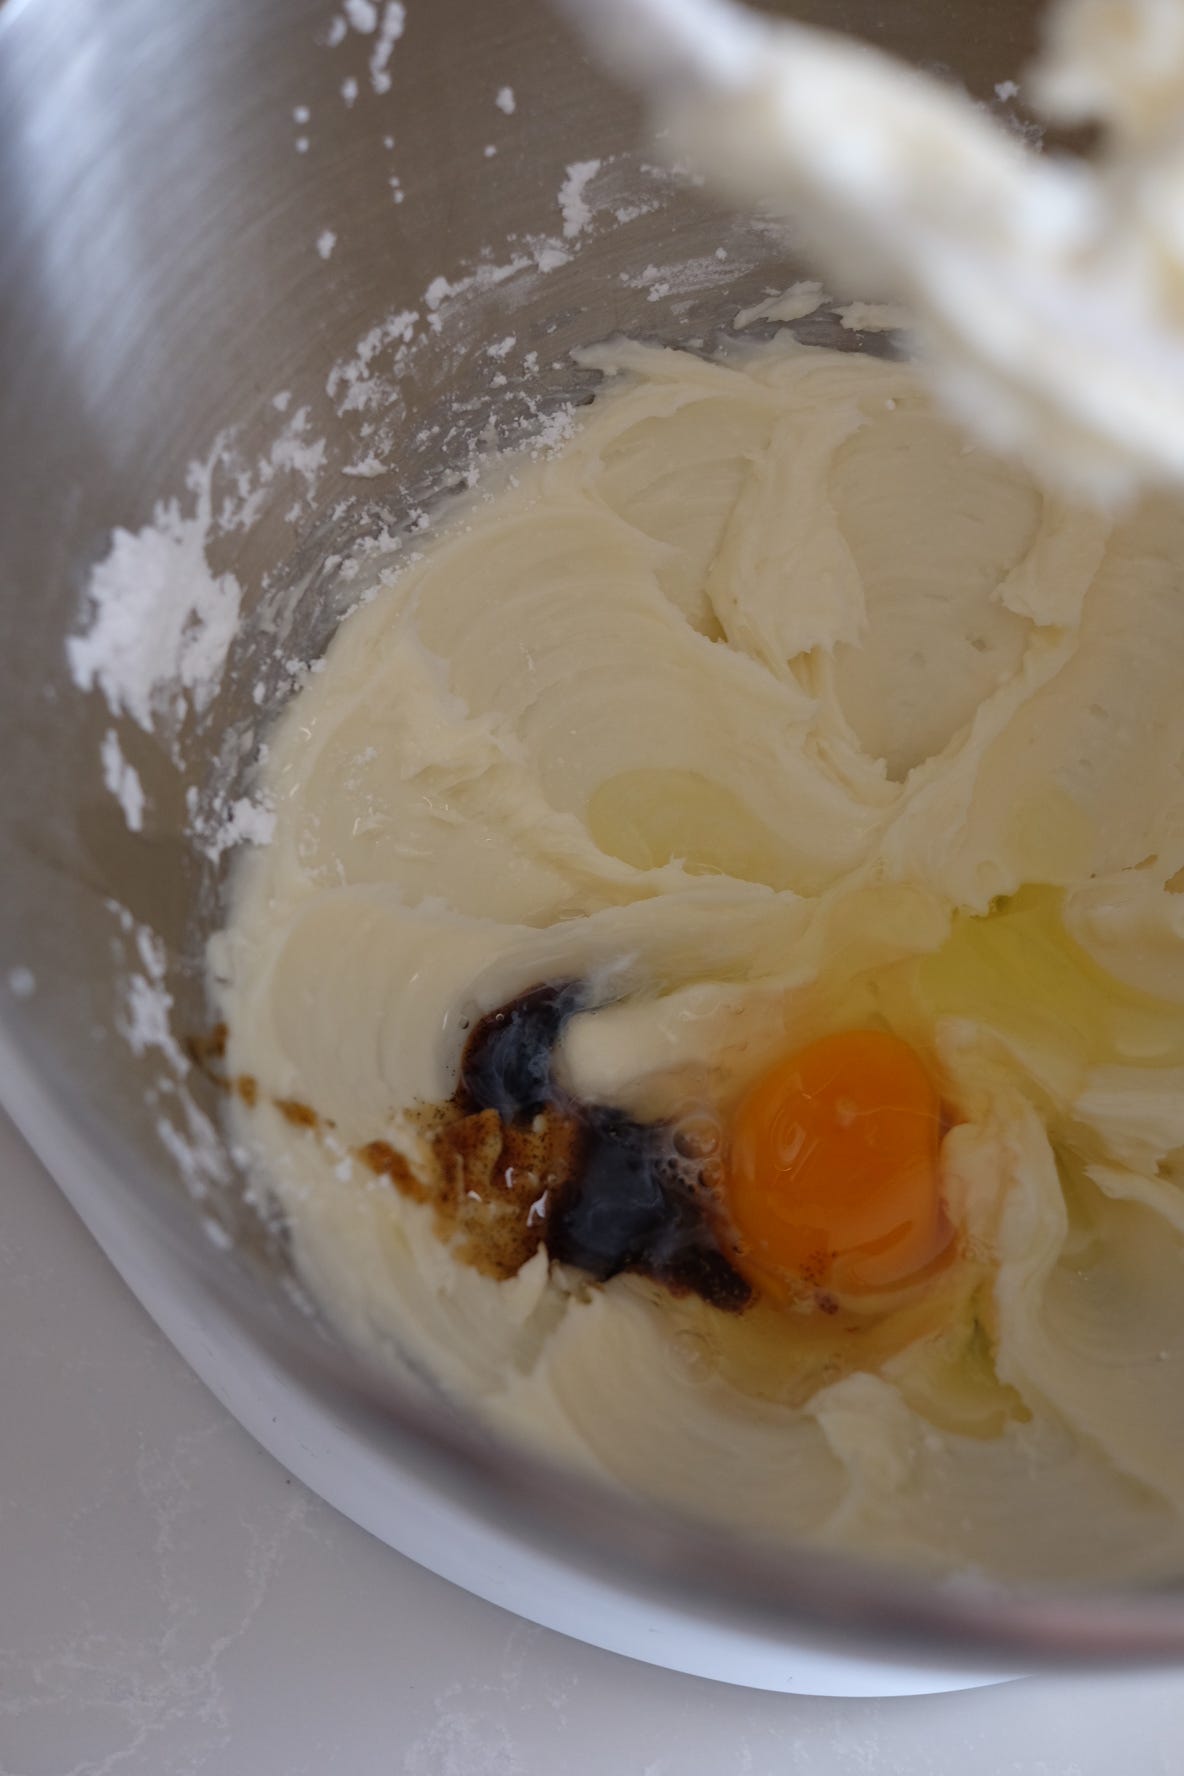
Add in the vanilla bean paste, almond extract, and egg. Mix to combine.
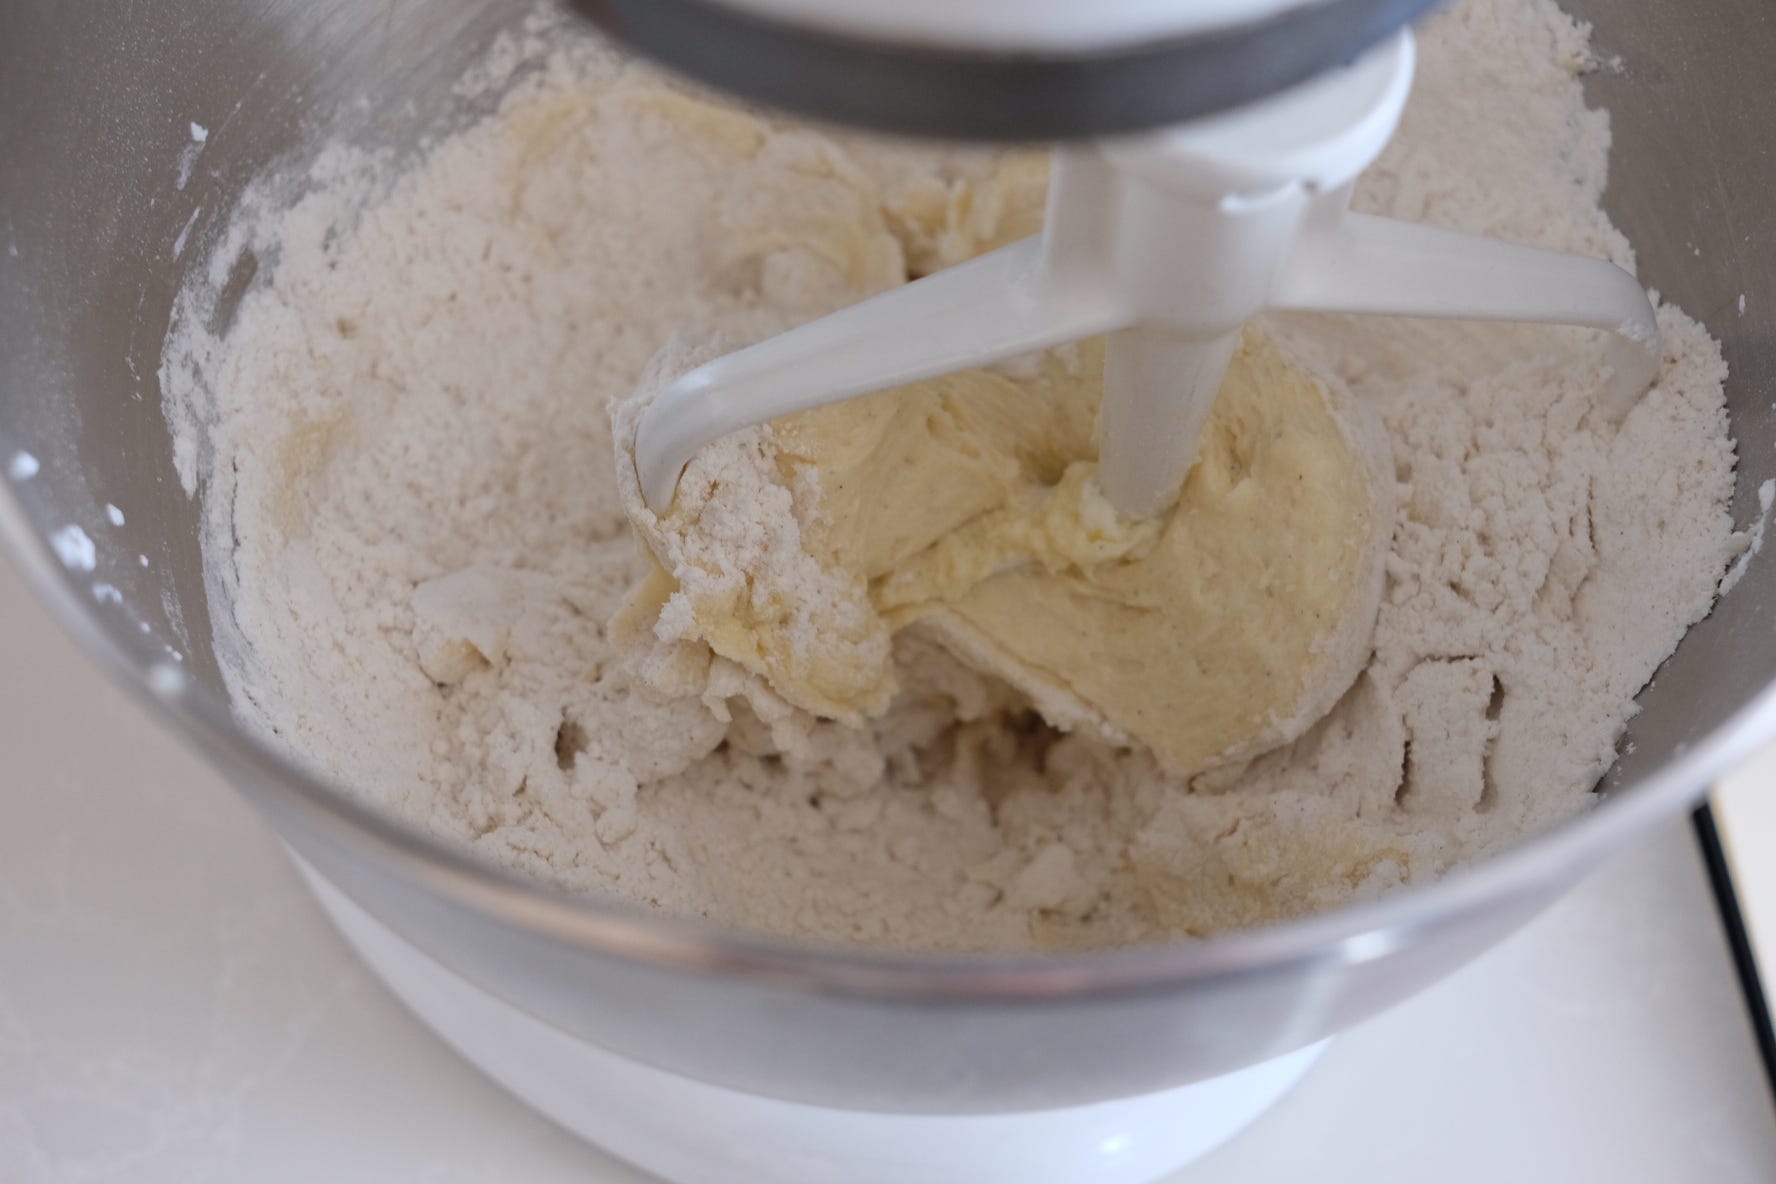
Mix in the flour in two batches.
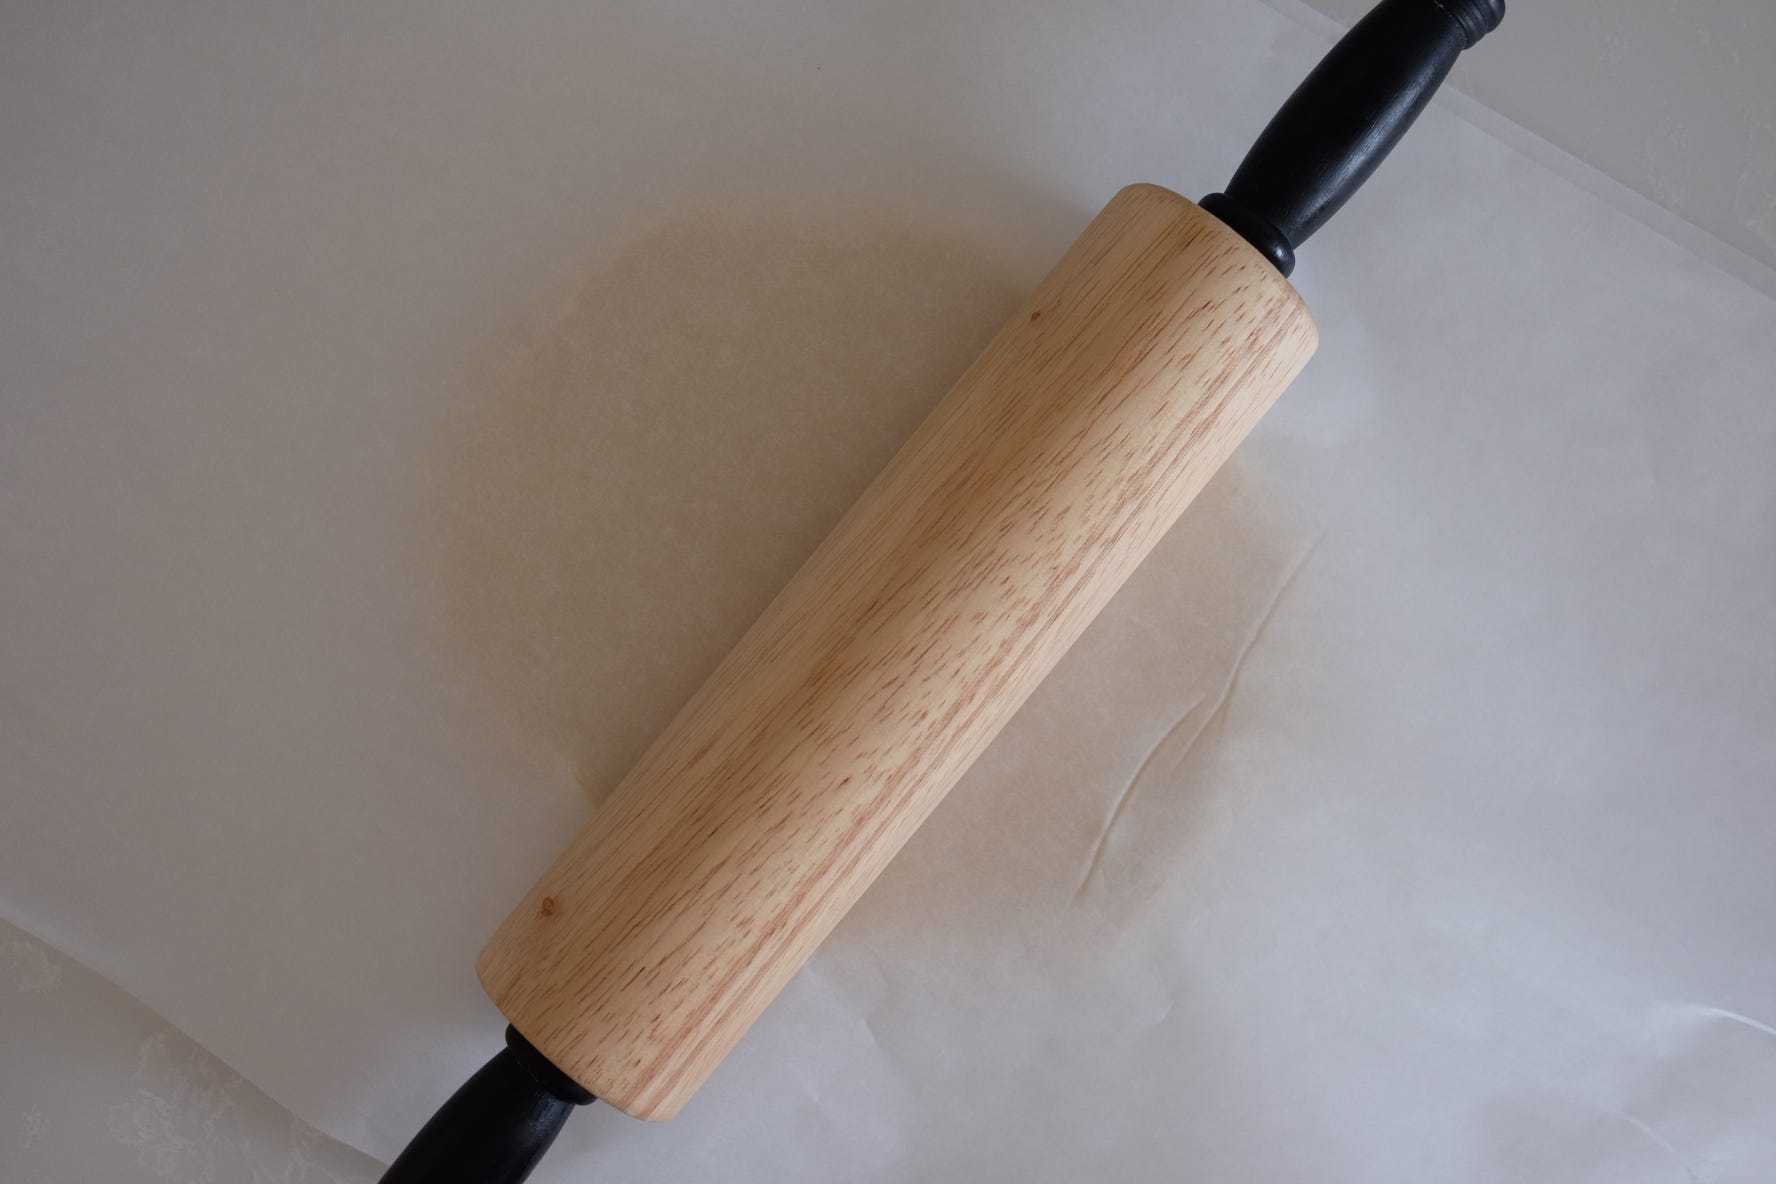
Turn the dough out onto a large sheet of parchment paper. Loosely shape into a rectangle and cover with another sheet of parchment paper. With a rolling pin, begin rolling the dough into a rectangle shape about 1/4” thick.
Transfer the dough (sandwiched between the parchment paper) to a large baking sheet and place in the refrigerator to chill for at least 1 hour.
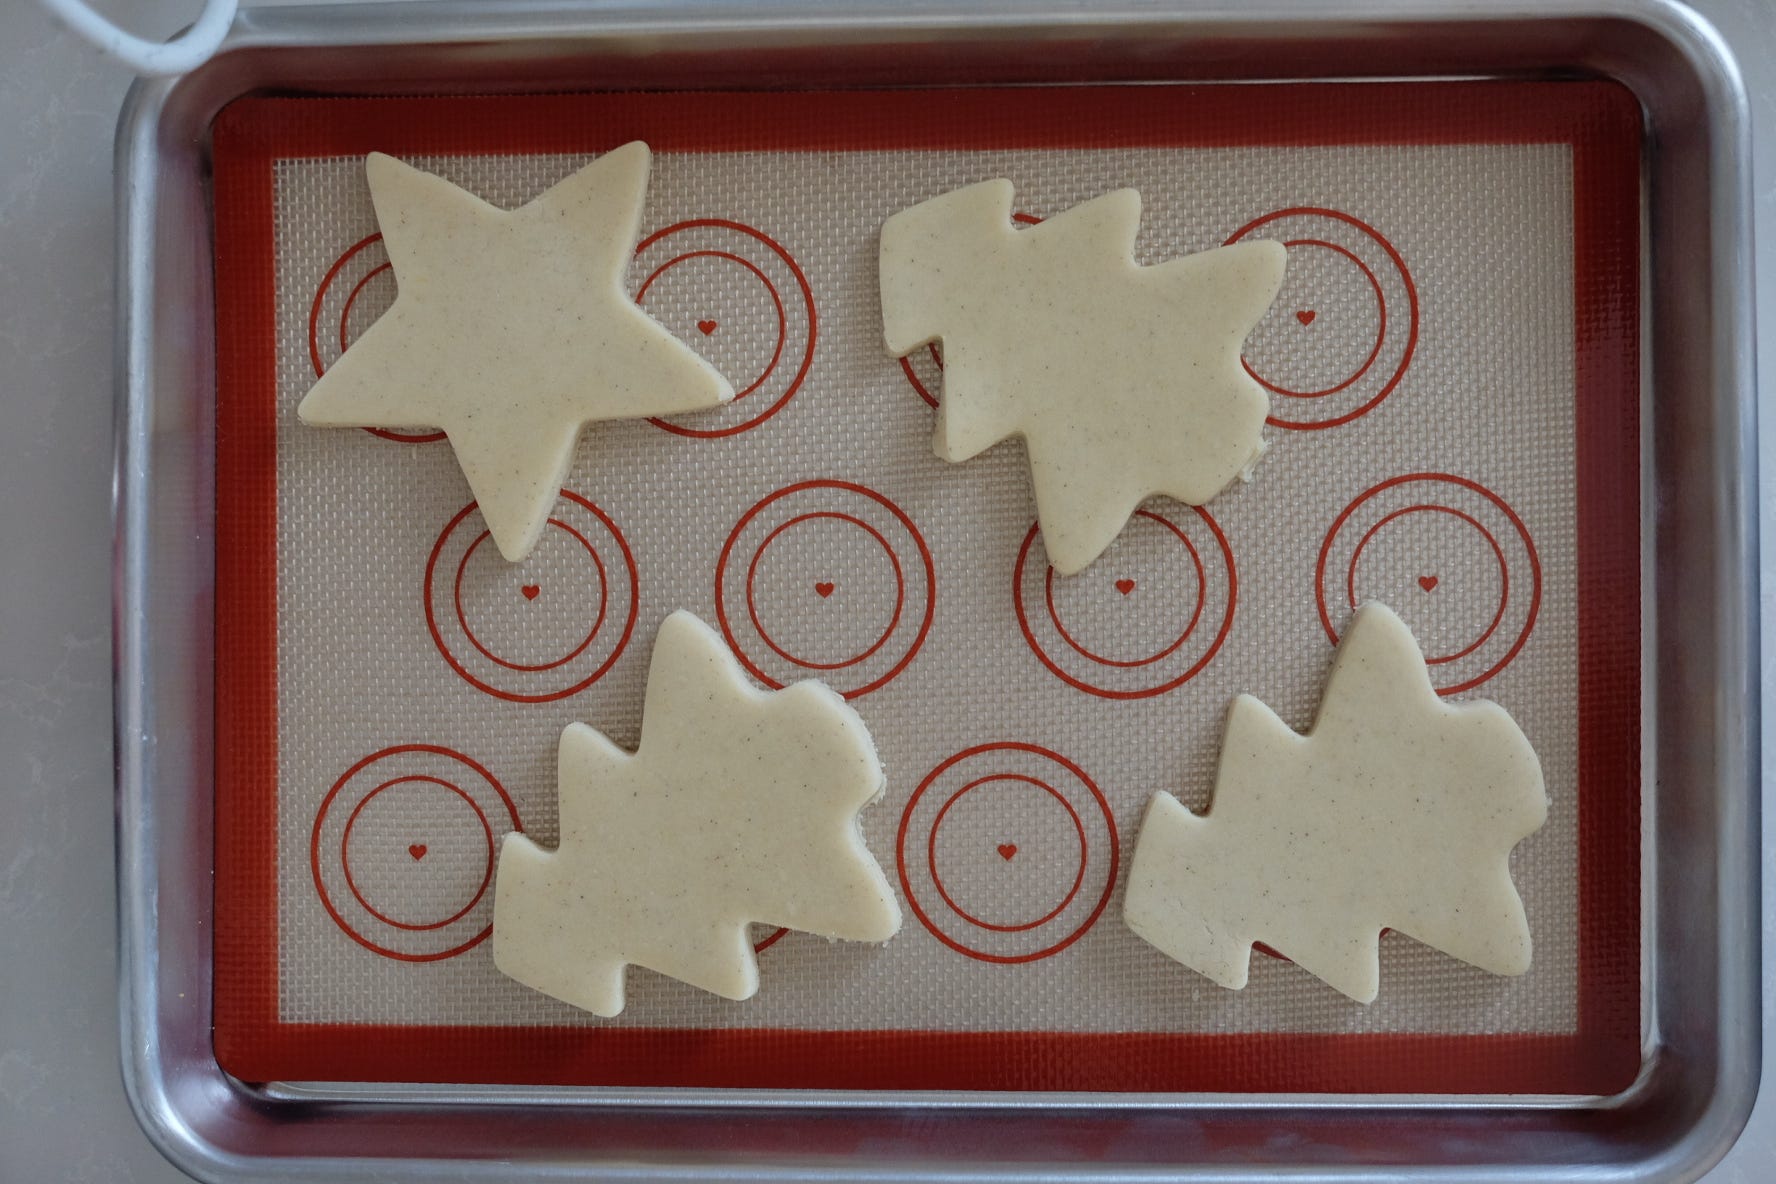
Remove the dough from the fridge and transfer it to the counter. Remove the top sheet of parchment paper. Preheat the oven to 375º. Line a baking sheet with a silicon liner or parchment paper.
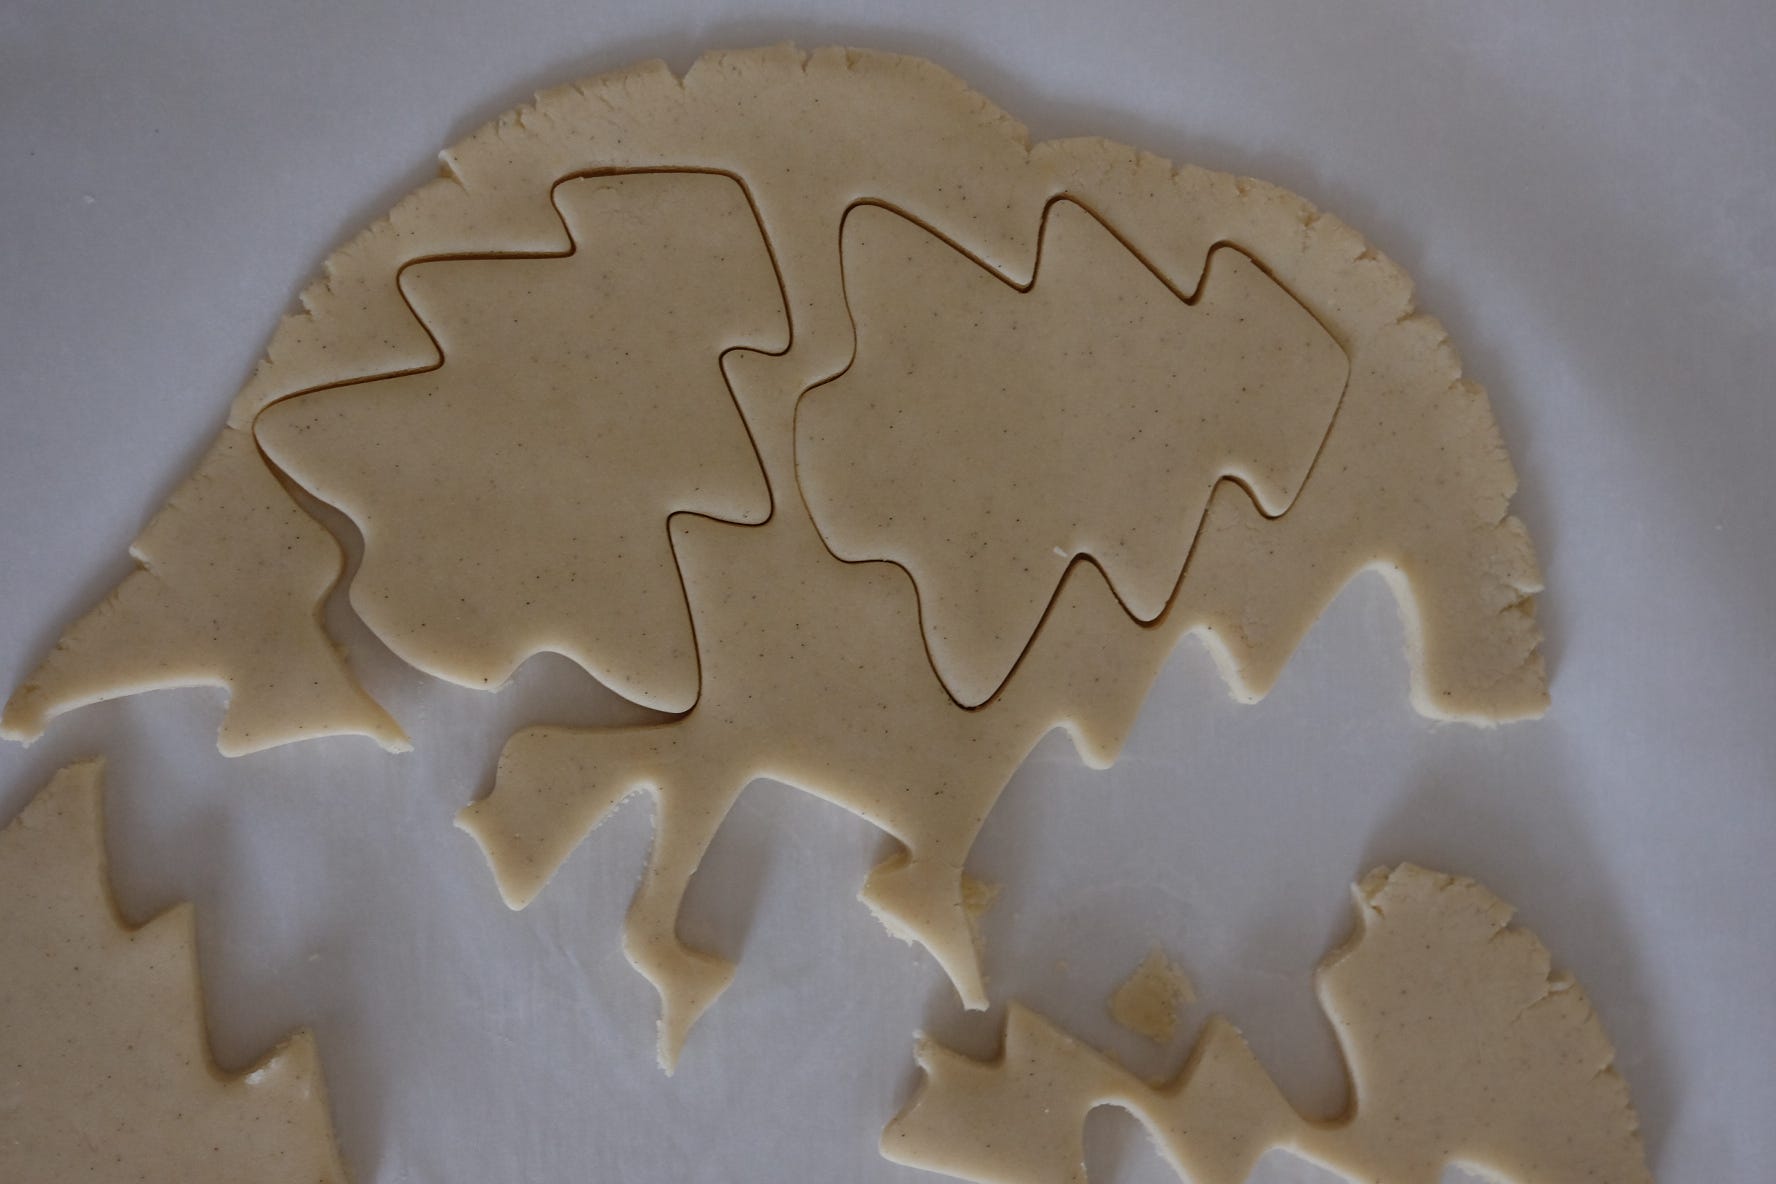
With your cookie cutters of choice, begin to cut out cookies. Try placing the cookie cutters close to each other to maximize the number of cookies you can get.
Place on the cookies baking sheet 2” apart.
Group the scrap dough together and gently repeat the process of rolling the dough. Place in the refrigerator to chill the dough for 10-15 minutes before cutting out more shapes.
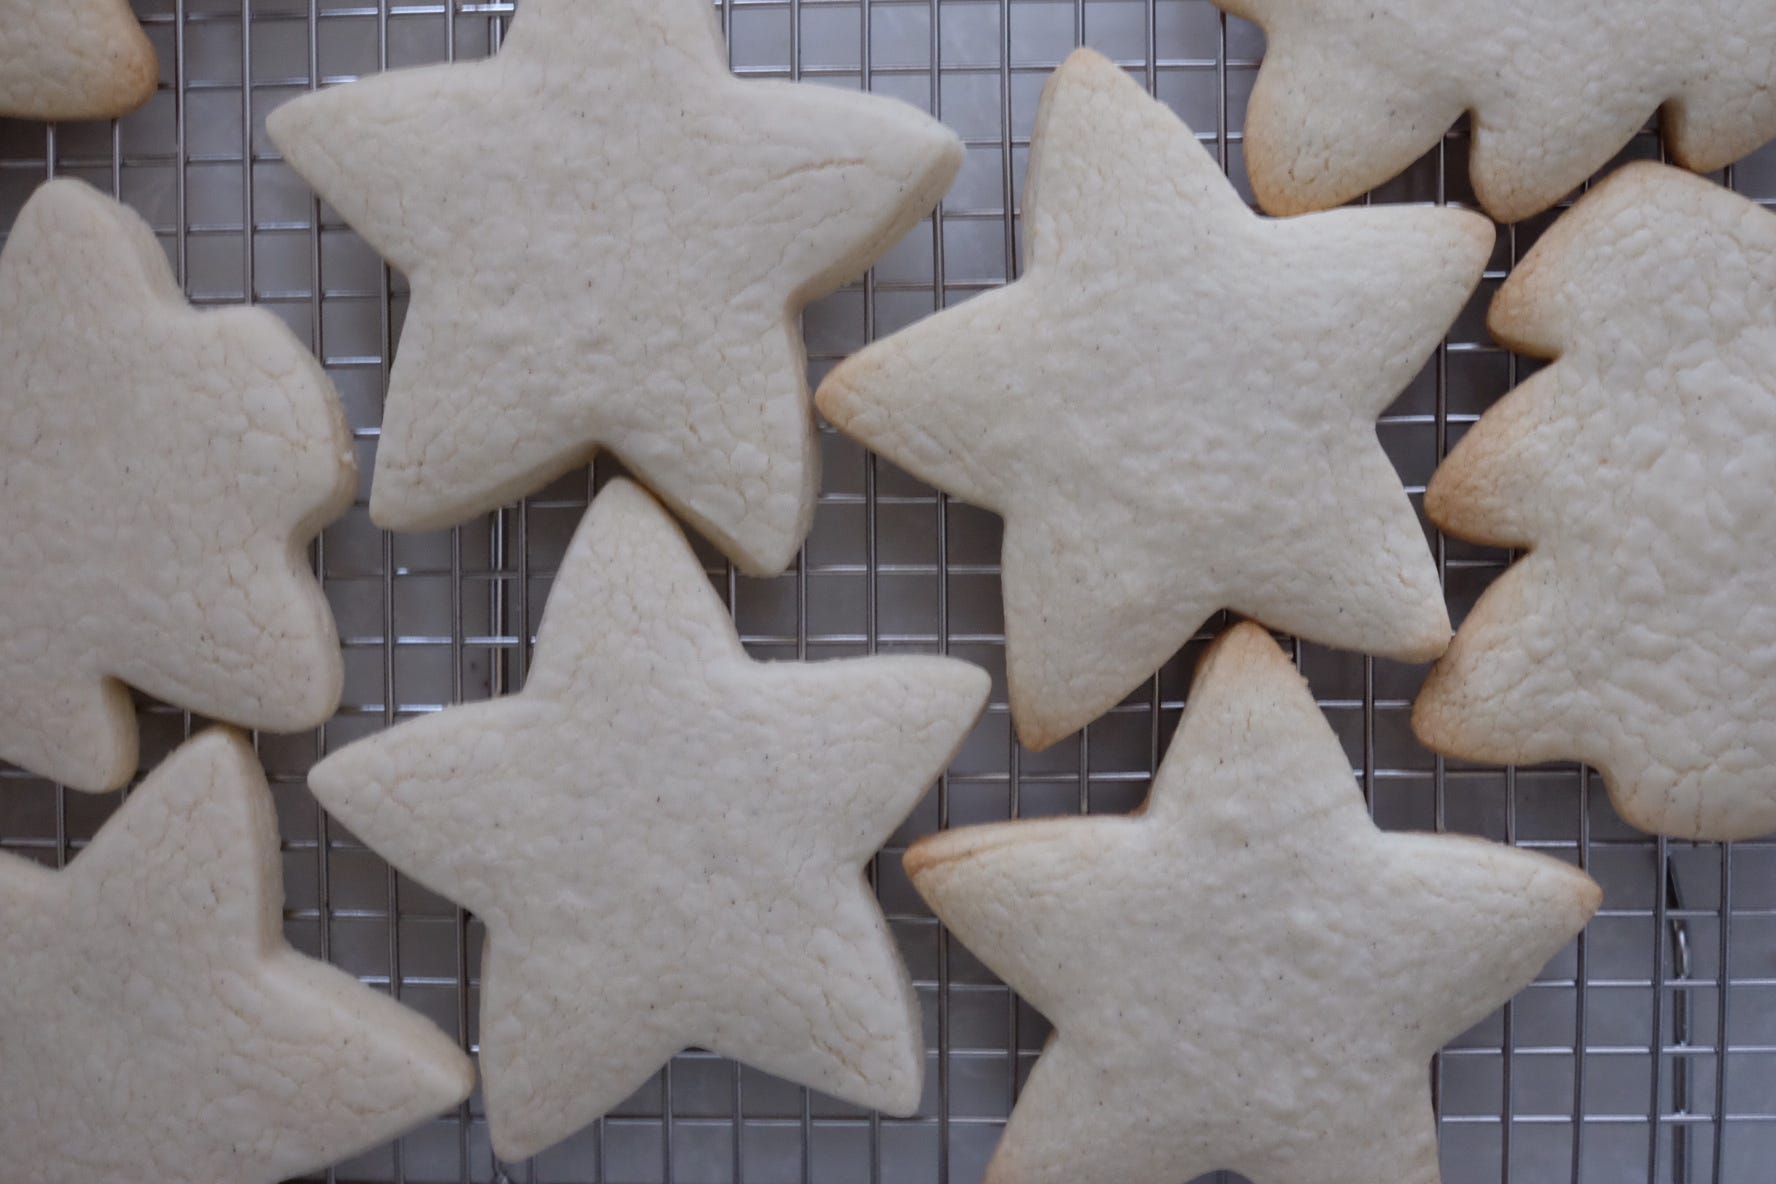
Bake the cookies for 7-9 minutes. Allow the cookies to cool completely before icing.
To ice the cookies, mix together the Icing ingredients. Use a spoon, offset spatula, or a piping bag to ice the cookies to your liking. Allow the icing to dry and harden completely. Store in an airtight container and eat within 4-5 days (if they even last that long).

The Best Sugar Cookies
Yield: 1-2 dozen
Prep Time: 15 minutes
Cook Time: 10 minutes (per each batch in the oven)
Chill Time: N/A
Total Time: 35 minutes
Servings: 16-24
Serving Size: 1 cookie
Calories per serving: 88 kcal
Nutritional information is only an estimate and does not include the icing topping.
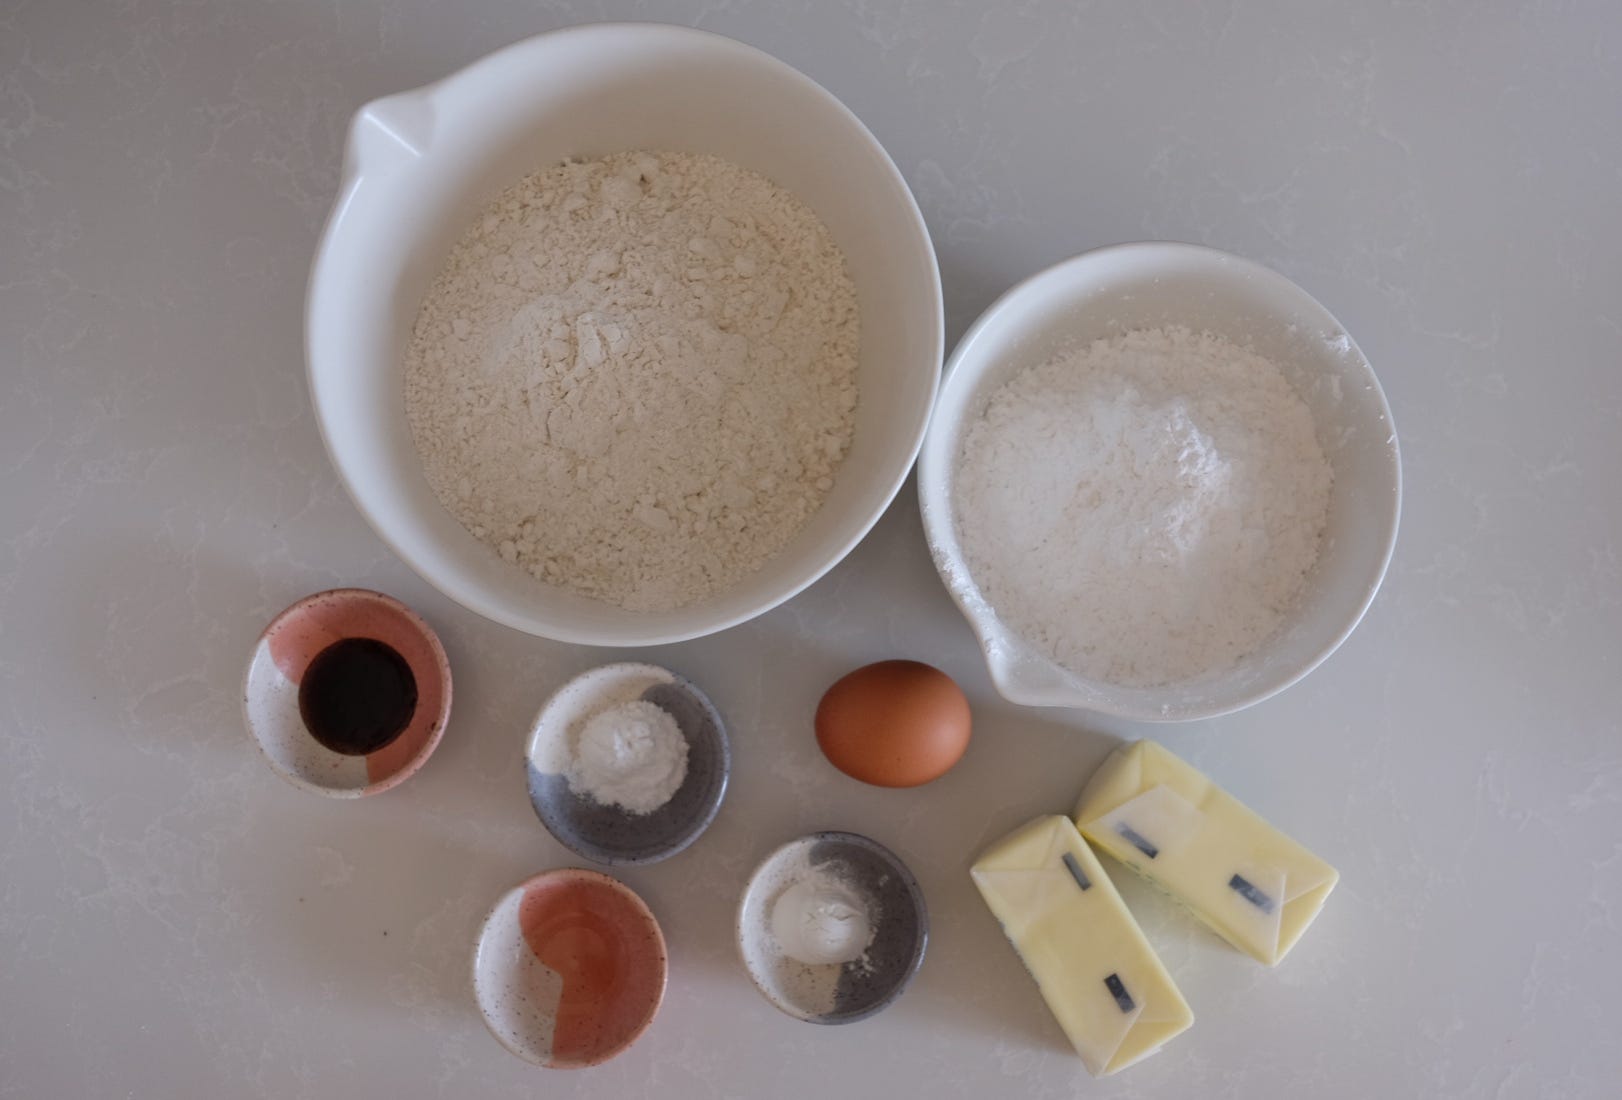
Ingredients
3/4 c butter, softened (1 1/2 sticks)
1 1/2 c powdered sugar
1 tsp vanilla bean paste
1/2 tsp almond extract
1 egg
2 1/2 c gluten free flour (I use Bob’s Red Mill)
1 tsp baking powder
1 tsp cream of tartar
1/2 tsp salt
Icing
2 c powdered sugar
1 tbsp corn syrup
1/2 tsp vanilla extract
1 tbsp water
Instructions
In a mixing bowl, add the flour, baking powder, cream of tartar, and salt. Set aside.
In a large mixing bowl or bowl of a stand mixer, add the sugar and butter. Cream them together 1-2 minutes using the paddle attachment on a stand mixer.
Add in the vanilla bean paste, vanilla extract, and egg. Mix to combine.
Add the flour mixture in two batches mixing slowly to combine. Be careful to not over mix.
Turn the dough out onto a large piece of parchment paper. Place another piece of parchment paper on top.
With a rolling pin, roll the dough into a rectangular shape until it’s approximately 1/4” thick.
Transfer the parchment paper and cooke dough onto a large baking sheet. Place in the refrigerator for 20-30 minutes.
After the dough has chilled, remove it from the refrigerator.
Preheat the oven to 375º. Line a separate full baking sheet with parchment or a silicon baking mat.
Remove the top layer of parchment paper and with your cookie cutters of choice, cut out shapes in the dough. Place on a baking sheet.
Bake for 7-9 minutes until the cookies have the slightest hint of golden color.
Allow to cool completely.
Once cooled, mix your icing ingredients together. If you wish to create several colors of icing, separate the icing into bowls and add your food coloring of choice (less is more!).
Either use a spoon or offset spatula to ice the cookies, or place each color into a small piping bag. Snip the end and begin piping the border first, then flood the cookies with the icing.
Allow the icing to dry completely (at least 45 minutes to 1 hour).
Store in an airtight container with parchment or wax paper between each layer of cookies. Add a half slice of bread 1-2 days later to help keep them soft.
As an Amazon Associate, I earn from qualifying purchases made from clicking links in this post.